Table of Contents
Gas detectors must deliver reliable measurements in every application. Over time, however, gas sensors can lose sensitivity due to ageing, environmental influences or exposure to different gases.
Regular checks are therefore essential to ensure that gas detectors continue to operate safely and provide reliable measurements. Three procedures are particularly important: functional testing, calibration and adjustment. Although they are closely related, each serves a different purpose.
What is gas detector calibration?
Gas detector calibration checks whether a measuring device displays the correct value when exposed to a known concentration of calibration gas.
For this purpose, a suitable calibration gas with a defined concentration is applied to the gas detector. The value displayed by the detector is then compared with the known concentration of the calibration gas.
Calibration therefore answers one important question: does the gas detector measure accurately?
If the measured value is within the permitted tolerance, the detector can continue to be used according to the applicable requirements. If the deviation is too large, an adjustment may be necessary.
What calibration gas is used for gas detectors?
The calibration gas must match the sensors and gases that the detector is designed to measure. Depending on the gas detector, single gases or mixtures containing several gases can be used.
The calibration gas should always be selected according to the specifications of the gas detector and its sensors.
What should be considered during calibration?
Calibration should be performed in a clean-air environment. The ambient air must be free from hydrocarbons and toxic gases, and the oxygen concentration should be within the normal range. Oxygen-deficient or oxygen-enriched atmospheres can affect the calibration result.
How are gas detectors calibrated?
Depending on the device, the calibration process typically involves the following steps:
1. Prepare the gas detector
Switch on the device and allow the sensors to complete their initialisation phase. Make sure the detector and sensors are ready for calibration.
2. Check the zero point
The detector is exposed to clean air or a suitable zero gas. The displayed values should correspond to the expected zero or reference values.
3. Connect the calibration gas
Select the correct calibration gas for the sensors being calibrated and connect the gas cylinder using the appropriate regulator, tubing and adapter.
4. Apply the calibration gas
Introduce the gas to the sensors at the specified flow rate and allow sufficient time for the readings to stabilise.
5. Compare the measured and reference values
The value displayed by the gas detector is compared with the known concentration of the calibration gas.
6. Adjust the detector if necessary
If the measured value is outside the permitted tolerance, an adjustment may be required. Calibration determines the deviation, while adjustment corrects the detector.
7. Complete and document the calibration
After calibration, remove the calibration gas and allow the readings to return to their normal values. The calibration result should be documented according to the applicable requirements and company procedures.
The exact calibration procedure, calibration gas concentration and permitted tolerances depend on the gas detector, sensors and application. Always follow the manufacturer’s instructions.
How to calibrate the OLLI Gas Detector: a practical example
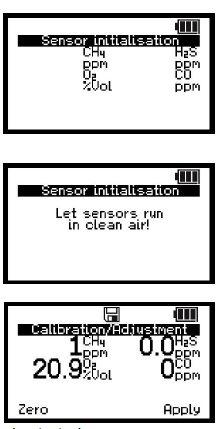
In the “Calibration/Adjustment” menu item, OLLI can be calibrated for different applications and adjusted if necessary. The required test gas can be applied to the sensors several times during the procedure. Calibration can be performed without a password, while adjustment is password-protected.
After selecting the menu item, the sensors first go through an initialisation phase. Once this is complete, the zero points are displayed. These values should remain stable at zero, or at 20.9 vol.% for O₂ and 0.04 vol.% for CO₂.
If the displayed values deviate from these reference values, the zero points can be corrected manually.
Regular calibration is an important part of quality assurance and helps ensure reliable measurements over time.
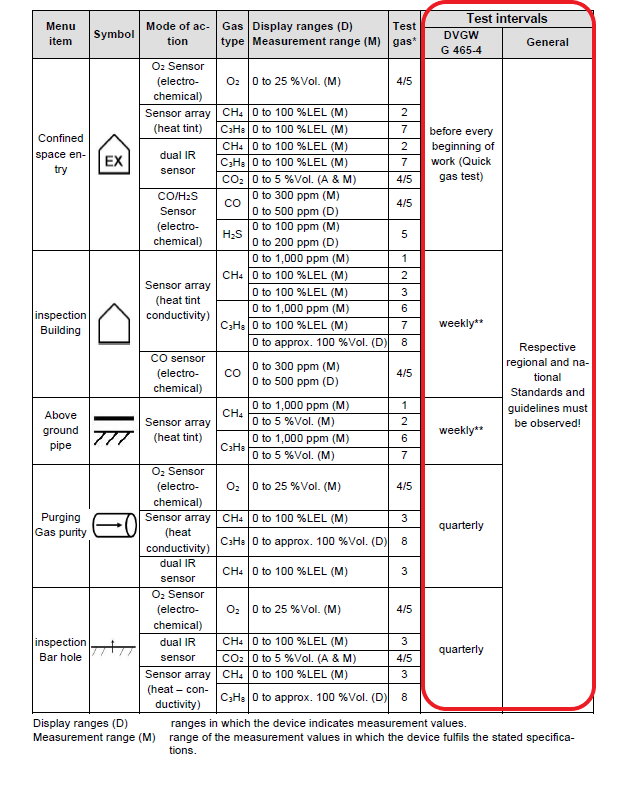
Applications and test intervals - Example with OLLI
What happens if the device calibration fails?
Possible causes for this can be an incorrect calibration gas or too much or too little calibration gas during the calibration process. The calibration can be repeated with the correct gas. It is also possible that the measured value is simply outside the limits. This still has nothing to do with a defect of the device or wrong calibration gas, but is a normal behaviour. Sensors can wear out over time and in this case the affected sensor must be adjusted.
Another cause may be a defective sensor. The device may need a longer sensor run-in period in clean air or must be returned to the factory for an inspection and, if necessary, repair.
What is the difference between calibration and device adjustment?
Adjustment involves a qualified person making changes to the measuring characteristics of a gas detector.
The purpose is to correct a measurement deviation so that the device meets the requirements of the intended application. Unlike calibration, adjustment actively changes the measuring behaviour of the device. This can include correcting the zero point or changing the sensor sensitivity.
Examples:
- If the device displays 50 ppm in clean air, the zero point can be corrected during adjustment.
- If the device displays 1.6 vol.% methane while a calibration gas containing 2.2 vol.% methane is applied, the sensor sensitivity can be adjusted accordingly.
What is a bump test?
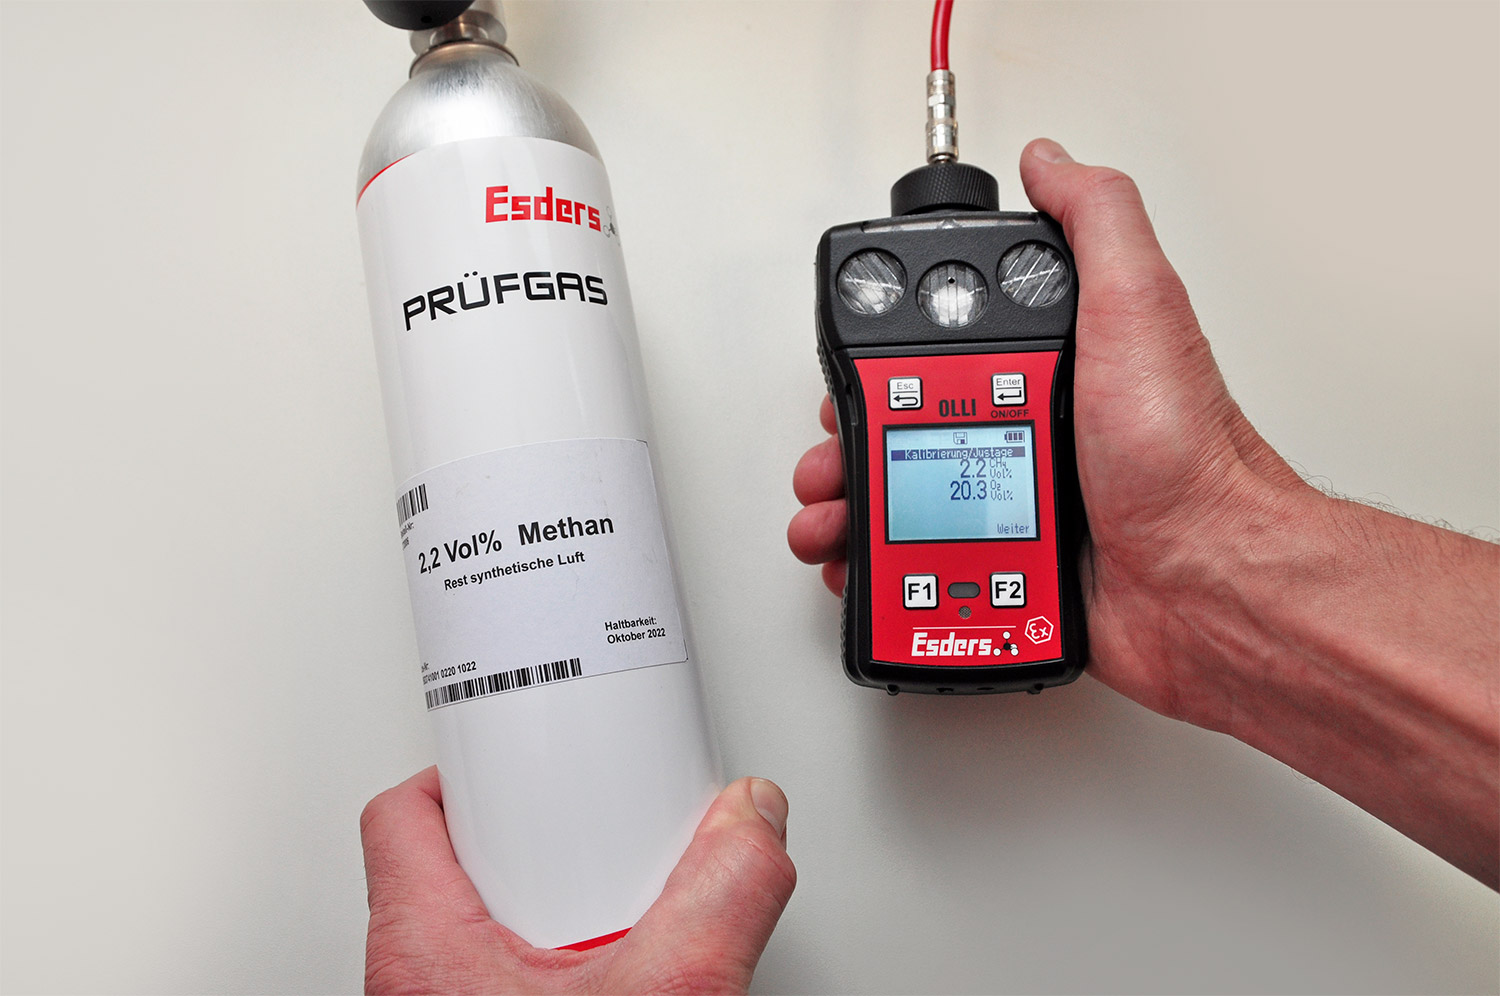
A gas detector bump test is a functional test. The detector is briefly exposed to a known test gas to check whether the sensors respond and whether the alarm functions operate correctly.
Unlike calibration, a bump test does not primarily check the accuracy of the displayed concentration. Instead, it answers the question: does the gas detector respond when gas is present?
During a bump test, important functions such as the following can be checked:
- Sensor response
- Gas supply to the sensors
- Audible alarms
- Visual alarms
- Vibration alarms, if available
The exact procedure depends on the gas detector being used.
How to conduct a bump test?
For a manual bump test, the detector is exposed to suitable test gas for a defined period. The user then checks whether the sensors react and whether the expected alarms are activated.
Typical bump test equipment can include:
- Suitable test gas
- A pressure regulator
- Tubing and connection equipment
- An adapter or test cap for the gas detector
The required adapters and connectors are available in our online shop. You can also find more information about test gases on our product page.
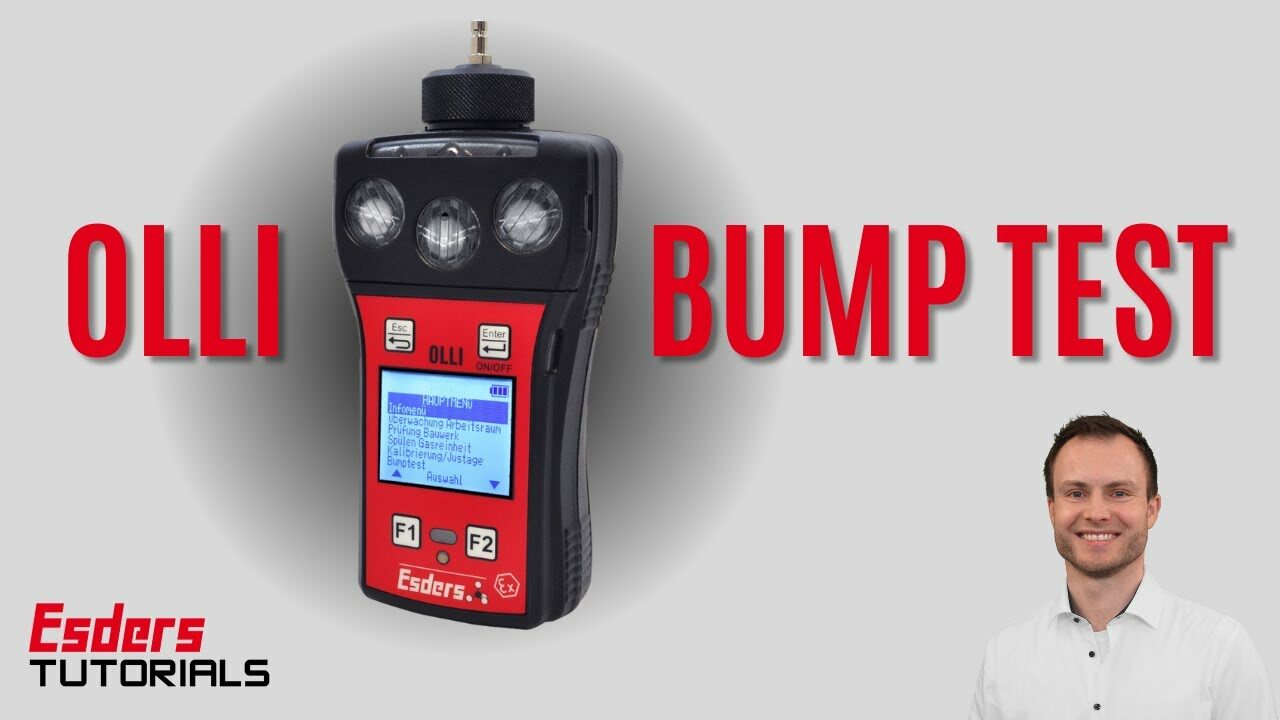
In the following video, Martin Esders explains the bump test procedure step by step, using the OLLI device as an example:
Reliable gas detection through regular testing and service
Bump testing, calibration and adjustment perform different tasks, but they have the same objective: ensuring that gas detectors work reliably when they are needed.
Quick summary:
- Bump test checks whether the detector responds
- Calibration checks whether it measures accurately
- Adjustment corrects the measurement when necessary
Many of these regular checks can be carried out by users themselves with suitable test gas and the appropriate bump test equipment. In addition, periodic manufacturer service provides a more comprehensive inspection of the measuring device. This usually includes checking the electronics, batteries, pump performance, filters, accessories and sensors, as well as cleaning the device and replacing components where necessary.
For companies that prefer to schedule maintenance and repairs on a regular basis, Esders offers the “Full Service” package, which combines all periodic maintenance work at a fixed price.