The pressure in underfloor heating is essential to ensure that this type of climate control system works properly, is safe and has a long service life. Before activating an installation, it is essential to carry out a pressure or leak test to confirm that there are no leaks or losses in the system. This test is not only a technical requirement, but is also stipulated by special regulations. In this article, we explain the correct pressure for underfloor heating, how to carry out the test step by step, what the regulations say and what mistakes you should avoid to ensure a safe, efficient and legally compliant installation.
Heating systems in buildings are regulated by various regulations and standards.
In Spain, this is RITE (Reglamento de Instalaciones Térmicas en los Edificios).
In Germany, the equivalent is the Gebäudeenergiegesetz (GEG), supported by DIN and VDI standards for technical aspects.
In Italy, this is D.P.R. 74/2013, complemented by Legislative Decree 192/2005 and UNI standards.
In Poland, regulations are mainly found in the 2008 Technical Conditions for Buildings and the Energy Performance of Buildings Act (2014), with PN standards providing technical guidance.
The Netherlands addresses thermal systems through the Bouwbesluit 2012 (Building Decree), supplemented by NEN standards.
While each country ensures compliance with EU directives, the regulatory structures vary in centralization and format.
What is underfloor heating and how is it installed?
Underfloor heating is an invisible climate control system that works through a network of pipes or heating elements installed under the floor, through which hot or cold water circulates depending on the season. This system distributes heat or coolness evenly from the floor, providing a high level of thermal comfort with reduced energy consumption, especially when combined with renewable energies such as aerothermal energy.
The operating principle is based on thermal radiation: heat rises gently from the floor to the rest of the space, avoiding draughts and maintaining a more stable temperature than traditional heating systems. In addition, by working with low-temperature water (between 30 and 45 °C), underfloor heating is much more efficient than conventional radiators that require higher temperatures.
Underfloor heating installation
Underfloor heating must be installed by a qualified professional and usually involves the following steps:
1. Preparing the floor
Cleaning and levelling the surface where the system will be installed.
2. Thermal insulation
Laying an insulating layer to prevent heat loss downwards and improve efficiency.
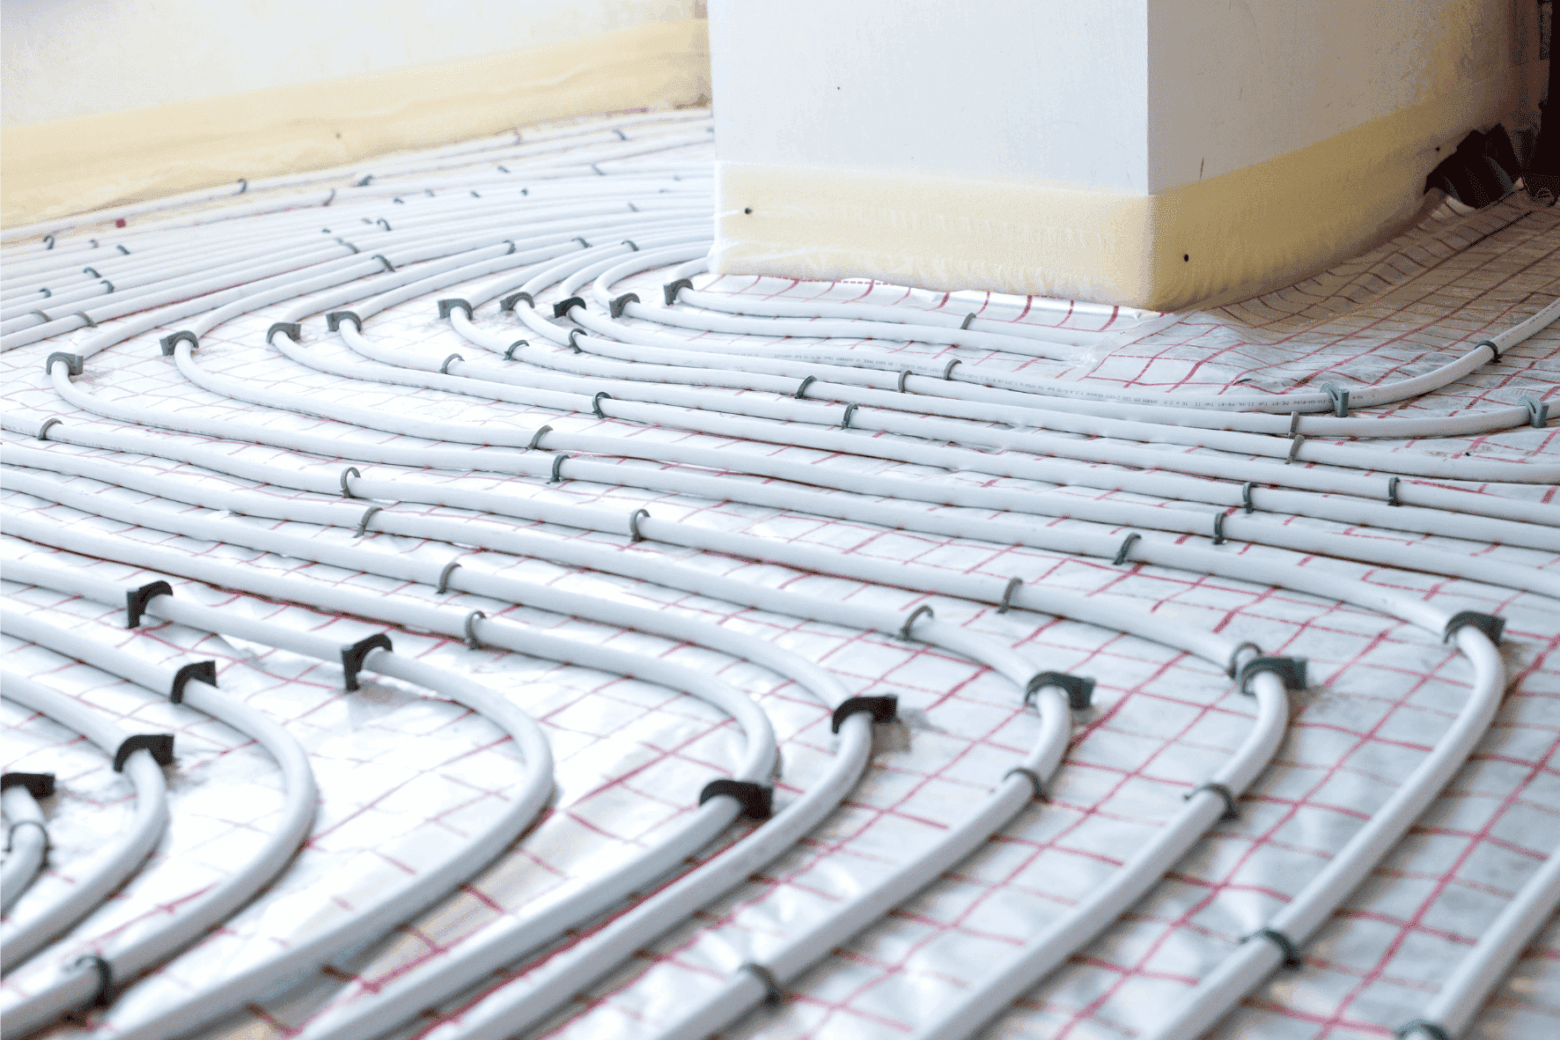
3. Laying the pipes
Laying the pipes (usually made of cross-linked polyethylene or multilayer) in a coil or spiral pattern, following a technical design that ensures even heat distribution.
4. Pressure test
A pressure test or leak test is carried out to check that there are no leaks before covering the pipes.
5. Pouring of mortar or screed
Once the leak test has been carried out, a layer of self-levelling mortar is poured to cover the pipes.
6. Laying the final flooring
When the screed has completely set, the chosen covering (ceramic, wood, vinyl, etc.) is laid.
Why is it important to test the pressure in underfloor heating?
The pressure test, or leak test, in an underfloor heating system is not just a technical formality; it is a key step in ensuring the safety, efficiency and durability of the system. This test is carried out before covering the pipes with mortar or any type of flooring, and its main objective is to check that there are no leaks, pressure losses or faults in the hydraulic circuit connections.
Performing this test is especially crucial because, once the system is covered, any repairs can be costly, invasive and time-consuming, as they involve lifting the floor and redoing part of the installation. Therefore, detecting any anomalies before closing the system is essential to avoid future problems.
How is the pressure test performed on an underfloor heating system?
The pressure test is an essential and critical step when installing an underfloor heating system. This test helps to ensure that the circuit has no leaks or pressure losses before covering it with the mortar layer or final flooring. Doing this correctly is key to ensuring that the system operates safely and efficiently throughout its lifetime.
Preliminary step: Purge the system
Purging the system is essential to ensure that all air is removed from the circuit. If air remains trapped, it can lead to erroneous results during testing, complicate leak detection and affect the thermal performance of the system.
Complete test procedure
With the system now full and properly purged, it is time to carry out the underfloor heating pressure test, following the instructions in the regulations and the manufacturer’s instructions.
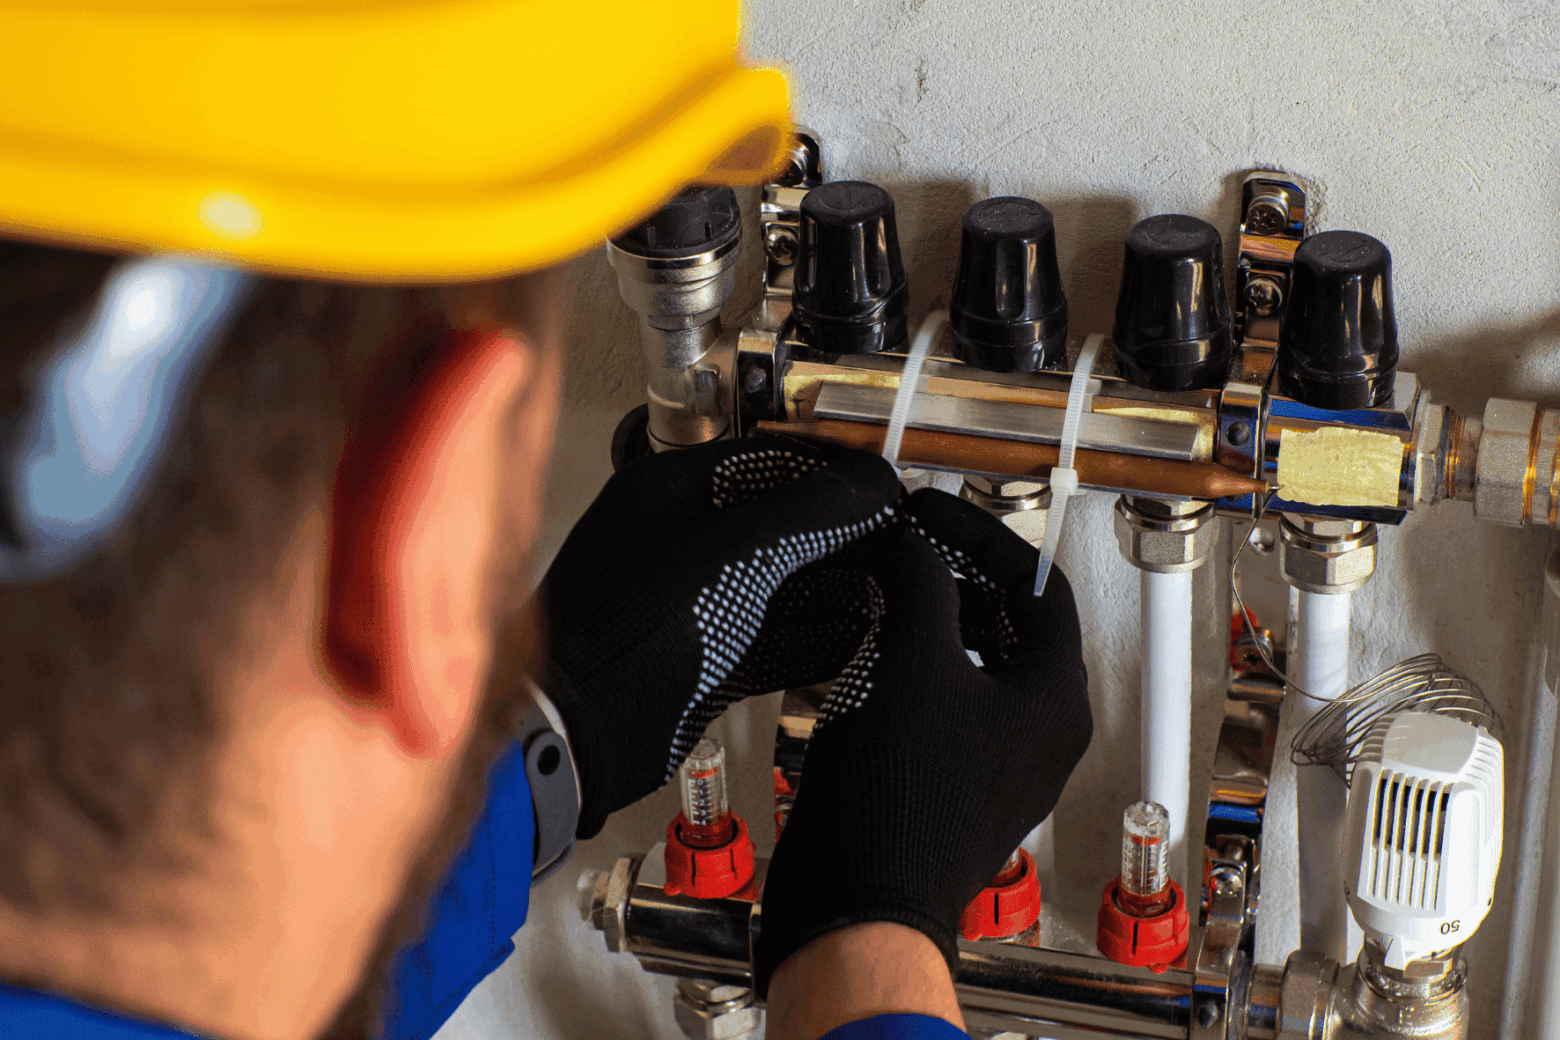
To carry out a leak test on underfloor heating, first connect a pressure gauge or test pump to the manifold, ensuring that all valves are open. Then, apply a minimum pressure of 6 bar (or as indicated by the manufacturer) and maintain it for at least one hour. During this time, it is crucial to monitor for any pressure drops or visible signs of leaks, such as moisture or seepage. If any pressure loss is noticed, it is essential to check and repair the system before continuing with the installation.
Perform pressure tests on underfloor heating systems digitally, precisely and automatically with our TONI PressureTest HP
Our TONI is a modern and efficient option for performing pressure tests in underfloor heating systems. This device has been specifically designed to automate, record and document pressure tests and technical inspections, providing accuracy, traceability and a professional approach to the process.
For further information about our TONI PressureTest HP device technology, our experts will be happy to assist you in person. Simply use our form to send us a contact request.
Detect and prevent leaks in underfloor heating
Leaks in underfloor heating can become a serious problem if they are not detected in time. As they are hidden under the flooring, they can go unnoticed for weeks or even months, which can cause structural damage, damp problems or a constant loss of efficiency in the system. It is therefore crucial to carry out a thorough pressure test before covering the installation and to follow some recommendations to prevent leaks in the long term.
Detecting leaks in an underfloor heating system
If you notice a constant loss of pressure, this could be a sign of a leak in the system, especially if there is no clear reason for it. Also, if you find areas of the floor that are cold or damp, this could indicate that the water is not circulating as it should or that it is leaking. An increase in energy consumption is another warning sign; this happens because the system has to work harder to maintain the temperature you want.
In professional installations, advanced techniques such as the use of tracer gas can be used. For example, tracer gas, which can be hydrogen or nitrogen, is fed into the system and detectors for this gas are used to locate the leak.
Prevent leaks in underfloor heating
To prevent leaks in an underfloor heating system, it is essential to use certified, high-quality materials, always carry out a pressure test before covering the installation and follow the manufacturer’s instructions, especially with regard to pipe bending. In addition, you should avoid stepping on or placing loads on the system during installation, keep it pressurised during mortar pouring as a safety measure and, in critical installations, document the pressure test and keep it as part of the technical file.
Don’t miss any news about our products and new regulations!

.jpg?width=100)
.jpg?width=100)